

Welcome to today's post.
We are in the season of being able to get those seeds started for the spring. Yes, you heard me right. The winter months are a great time to get those early spring plant seeds started if you want to have them ready for planting day. Always check your time zone to know when to start the seeds so they will be ready for to transplant after the last frost. You can find this information online, Farmer's Almanac catalog, your county extension office, etc. Seeds that you might consider first are your cold crops such as broccoli, cauliflower, cabbage, radishes, lettuces, carrots, kale, etc. If you start these now, they will be ready to transplant to outdoor gardens or containers while it is still cool temperatures. By the time they are finished producing, then you remove them and then plant the next season's crop. This saves a ton of space in your garden. Knowing when to plant what, is the ultimate key when gardening and maximizing your space if you are limited. This is why I have always suggested getting those seed catalogs and going through them in the wintertime so you can plan and draw out your garden. The seed catalogs will suggest the best time to sew the seeds and their growing season. I hate waiting until the last minute to plan and plant because it throws me and my garden off.
In our area, if I start cold crop (early spring) seeds indoors, they will be ready for around the first of March to go out into the garden outdoors. They will flourish, grow, and produce up until around May. May is the time I start the spring-to-summer seeds in the garden. By this time the cold crop plants have fizzled out and are ready to be removed to make room for the next crop. Did that explain it a little better? I sure hope so. Believe it or not, I have even had time to plant a few things that will grow in the fall, right after my summer crop was fizzling out. It was a tight time squeeze but I managed. One year I had pumpkins growing are ready to be picked in July. Crazy right?
Now let's get into how to start seeds indoors. You do not need a lot of fancy, expensive things. When I first started this journey, I was using anything I could think of to start those little jewels in. I watched my dear mother-in-law start seeds in red solo cups, styrofoam cups, the cells of egg cartons, toilet paper, and paper towel rolls, and anything she could repurpose. She would make sure there were drain holes in whatever she was using, spread down some newspaper or towels, put her newly plated containers on them, mist them with a little water from a spray bottle, and put them in a sunny warm window. Viola! She had sprouts coming up within just a few days. She babied them and when they were strong enough and the temperatures just right, she would start hardening them off. This means, to start getting them use to outside temps a few hours a day, making sure to bring them back in at night. Then it was time to just go for it and put them right out in the garden. She did this with such great care.
I have used many different methods. I started out doing the same thing as she did, then I researched more and found new ways and things to use. I started buying the premade containers with the pellet dirt, dome lid, self watering systems. They worked really well. Then I created a better space like a shelving system, and added grow lights. It was a great system. Then I got into hydroponics systems and I love them. I still use the old way of starting seeds sometimes. I mostly use my hydroponics systems to grow herbs and lettuces with. I have started some tomato and pepper plants to start our garden with, just to see if I could do it. More on hydroponics in a bit.
Starting seeds indoors is not hard. We were actually on a work trip in Kansas one year and I was desperate for some greenery where we were staying. I saved some strawberry containers and a few tops from some strawberries especially making sure I cut off some with the seeds visible. I bought some seed starting mix and planted them in there. Then I went and bought one of those premade kits for starting seeds. I started a few herb plants. I followed the directions on the kit and it worked. We didn't have a sunny window to put them in however, but I placed them on a heating pad under a lamp on top of a dresser. Low and behold, sprouts started coming up.


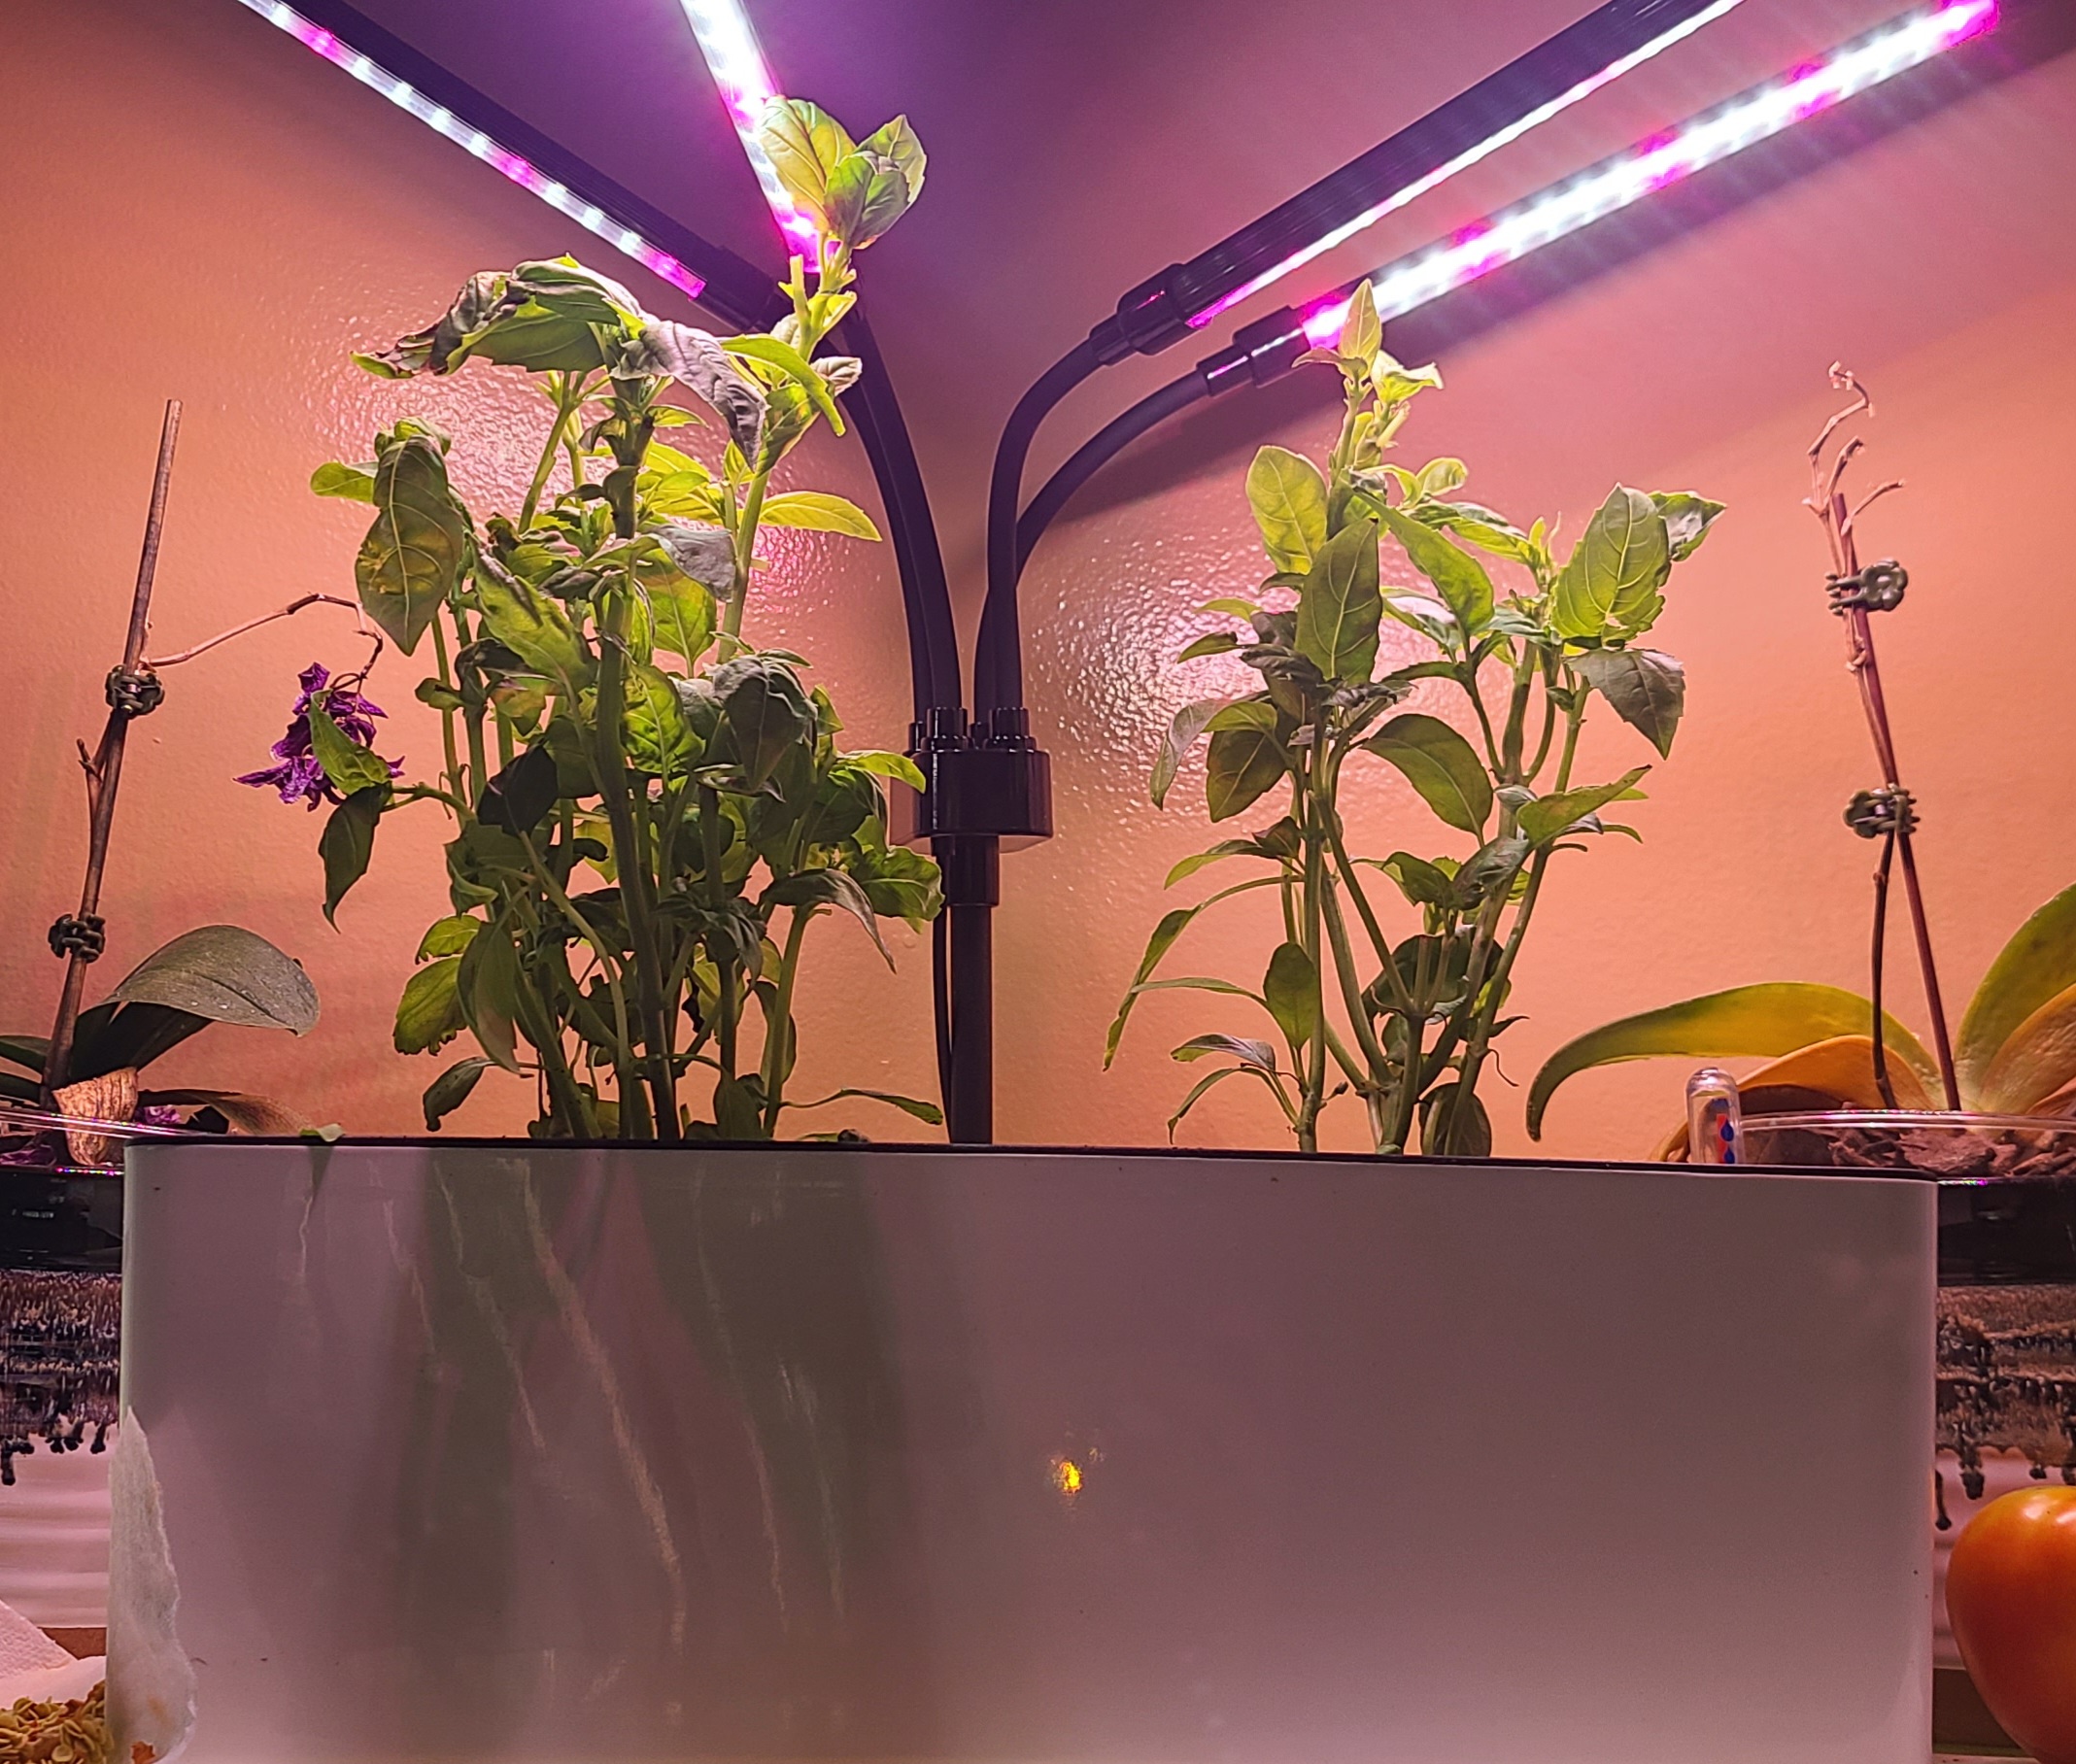


This system is so easy to set up, that I let my granddaughters plant some things in one and I planted things in another one. I had two at that time and now I have 3 systems.

They were so careful with those seeds. The focus and concentration. But it paid off because look how these beauties took off and look at them through the growing process. Little sprouts


A little bigger


All lit up and bigger

They got to the point to where they could go and snip off what they wanted. Especially lettuces to make them a little salad with. They also love dill to just pinch off and eat.


It was finally time to transplant then to self waters or containers


One year we were on a work trip around the time we needed to get some pepper and tomato plants started. I asked her if she would go get my systems and seeds and take them home with her and start me some. She did and this is the outcome.


By then we were coming home and I went and picked them up one day and brought them back home. I got the right in the garden and they produced wonderful tomatoes and peppers all summer for us. I will be doing that again this year.
If you enjoy our blog and content, be sure to sign up to receive emails when a new post is published so you don't miss a thing. We would love it if you would join us. Enjoy your reading.
If you are curious about any products you see in our images or that we use in our kitchen, please feel free to visit our Amazon Store where everything is organized into lists for each category.
Visit our 4D Farms Storefront here
4D Farms LLC. is a participant in the Amazon Services LLC Associates Program. Our storefront link is an affiliate link that earns our farm a commission at no additional cost if you click through and make a purchase. You can trust that we recommend products that we use in our own home and love and maybe some we wish to have. Our storefront is designed to help you locate items easily by specific, organized, and titled lists.
Thank you for your support.

No comments:
Post a Comment